Tooling case study.
Heritage Formula 1 braking duct: precision patterns from scan.
The brief & the challenge
The ducts were period-correct F1 components with thin aerodynamic walls, complex internal passages and many small radii and trim allowances called out at full scale. The client supplied high-resolution scan data of the originals, which captured the historic shape perfectly but was not manufacture-ready. Our task was to preserve the scanned geometry while delivering clean, repeatable master patterns ready for tooling and moulding.

Raw scan data

Rebuilt model
Re-modelled using scan data with original 2D drawings for reference
Scan → STEP → Tooling: the data workflow
Raw scan meshes excel at capturing historic curvature but are noisy, dense and not ideal for CAM. To make the scan data manufacture-ready we worked with an industry CAD partner who rebuilt the scan mesh into a clean, watertight, parametric STEP file. That STEP model preserved the original aero geometry and internal duct detail while removing mesh artefacts and providing the clean surface topology needed for tooling design and CAM

Machining
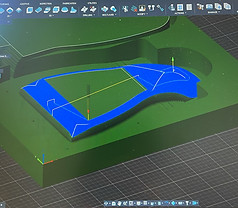
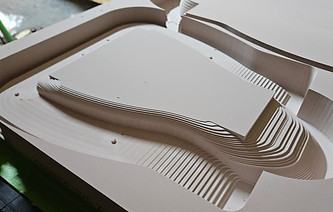
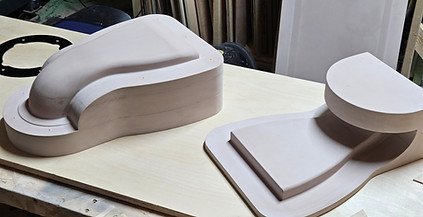
Small parts were machined individually in layers of 50mm tooling board. We used Fusion 360 to program our rough, semi-finish and finish passes were tuned to Ebaboard milling parameters and simulated before cutting. Because the machine Z travel was limited, we machined individual layers and then performed a post-machining bonding operation to build up required Z height, the precise pre-machining made the registration and final bonding straightforward.
Roughing

Finished patterns


Our Phone Number
Our Email Address
Our Address
+44 7555501387
Old Turkey Farm,
Barrows Lane, Sway, SO41 6DD
Useful Pages
International Projects
Shipping & Delivery
